How to Make a DIY Sponge Filter for Your Aquarium (With Pictures)

Updated on

If you’ve been in aquatics for a long time, then you’ve likely heard of a sponge filter. If you’re relatively new to aquatics, you may have heard people in forums discussing sponge filters. Sponge filters are an old tool that is coming back into popularity as more people become more involved in the care of their aquariums.
Sponge filters, as simple as they are, aren’t carried in most big box stores. Your local fish store may carry them but likely has a small selection of them. If you’ve been looking into trying out a sponge filter, the lack of availability of them may have deterred you. The good news is that with a few aquarium items and things you can grab at hardware stores, making your own DIY sponge filter is a relatively easy project that you can accomplish in an hour or two.
First, let’s cover what a sponge filter actually is and what the benefits are of using one. Then, keep reading for step-by-step instructions for making your own sponge filter!

What is a Sponge Filter?
Sponge filters are one of the most simplistic kinds of filters for aquariums. They are a great option for hospital tanks, fry tanks, and tanks for small invertebrates like shrimp because they do not carry the same risks that HOB and canister filters do when it comes to small and weak fish and invertebrates.
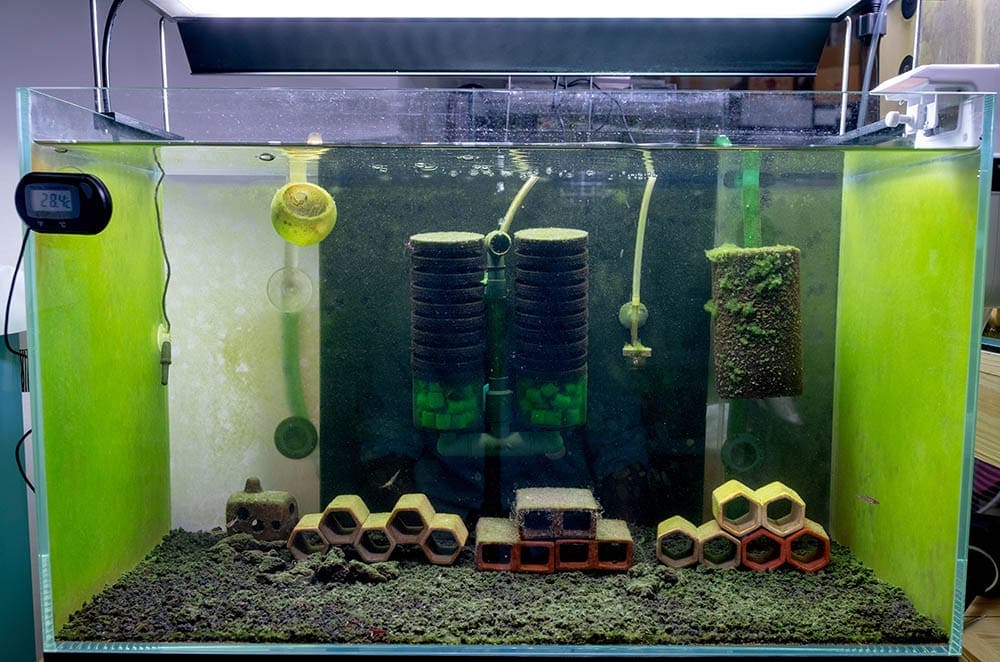
Sponge filters are a very basic design and basically consist of little more than a tube with a sponge on one end. There is a connection for airline tubing, and the air passing through the inner tube gently pulls water from the tank through the sponge, capturing lightweight waste like small fish poop and particles in the water.
One of the biggest benefits of sponge filters is the sponge itself, and not just because it helps keep your small critters safe. The sponge of a sponge filter creates a perfect surface with a huge amount of surface area for beneficial bacteria to grow. This means that sponge filters allow for mechanical and biological filtration, but most lack chemical filtration.
- ¾” PVC pipe
- PVC cap or other nontoxic plastic cap
- Drill with small bit
- Filter sponge
- Airline tubing
- Small air stone
- Aquarium air pump
- Suction Cups (optional)
How to Make Your Own DIY Sponge Filter
1. Measure and Cut
Measure your PVC so that it is a couple of inches shorter than the water level in your tank, then cut it to size. The total height of your sponge filter doesn’t matter as long as all the components are built in the correct places, so you can make your PVC as short or tall as you prefer as long as it is below the level of the water.
2. Measure and Drill
Measure how far up on the PVC your sponge will cover and mark where the top of the sponge will sit. Then, drill small holes in the area of the PVC that will be covered by the sponge. Approximately 8-10 small holes per inch of PVC should suffice.
Note: You can use a hammer and nail to put the holes into the PVC, but it is extremely difficult to do without risking injury or damage to the PVC pipe. This should be a last-ditch option for if a drill is not available for you to use.
3. Cap PVC
Cover the end of the PVC that will sit in the sponge. You can use a PVC cap or you any other aquarium-safe cap that will fit snugly over the end of the PVC pipe. If you are using a twist-on PVC cap, then twist it tightly into place so that it is airtight. If you are using another type of cap, then you may need to use hot glue or superglue gel to make sure the cap fits snugly and is airtight.
4. Put Sponge into Place
Slide the sponge into place, ensuring all of the holes in the PVC pipe are covered by the sponge and the capped end is inside of the sponge.
5. Thread Airline Tubing
Just above the level of the sponge, drill one more hole that is large enough for you thread airline tubing through. The fit should be tight without occluding the airline tubing. If the hole is too big, air will bleed around the tubing and the filter will not function correctly. Then, thread the airline tubing in through the hole and out the open end of the PVC pipe.
6. Pull Air Stone into Place
Once the tubing is pulled out of the open PVC end, attach a small air stone. The air stone should be small enough that if can fit inside of the PVC tubing without occluding the tubing completely. Back the airline tubing out through the hole, pulling the air stone down the PVC almost to the level of the hole.
7. Put Sponge Filter in Place
Your sponge filter is ready to go to its new home in your tank. You can set your sponge filter into place however you prefer. If you have suction cups with clips, like you’d use to attach a heater to the wall of your tank, then you can use those to clip the sponge filter to the side of your tank.
You can also set your sponge filter on the bottom of your tank. If you don’t want to risk your sponge filter getting knocked over, you can attach an aquarium-safe weight to the bottom of the filter. This can be done by either putting the weight inside the PVC below the level the air stone sits at, putting the weight inside of the sponge but outside of the PVC pipe, or attaching a weight to the outside of the sponge so that it holds the entire pump in place.
8. Turn on Air Pump
Once everything is connected and seated where you want it, you’re ready to turn the air pump on. You should see air bubbles coming out of the top opening of the PVC. You should not see noticeable suction pulling water or objects into the sponge. Sponge filters are gentle and create slow, steady suction.


Conclusion
Sponge filters are a great addition to just about any tank, but they are not a good option as the only filter for overstocked tanks or tanks with large or heavy waste producing fish, like goldfish. For these tanks, sponge filters are an excellent supplement to a HOB or canister filter that improves oxygenation, water flow, and beneficial bacteria colonization.
Making your own DIY sponge filter from scratch can save you time and money, plus leave you with a sense of accomplishment when you see it at work in your tank. Sponge filters require little in the way of cleaning and maintenance and will not need much more than an occasional cleaning of the interior of the tube and a quick rinse of the sponge in dirty tank water just to knock off solid waste.
If you have been considering adding some type of biological filtration to your aquarium, then a sponge filter may be the way to go. Making a sponge filter from scratch is a functional, cost-effective project whether you have one or dozens of aquariums.
See Also:
Featured Image Credit: Tide-Oo, Shutterstock